
New article
Recently updated
Using Dart Qscan V3
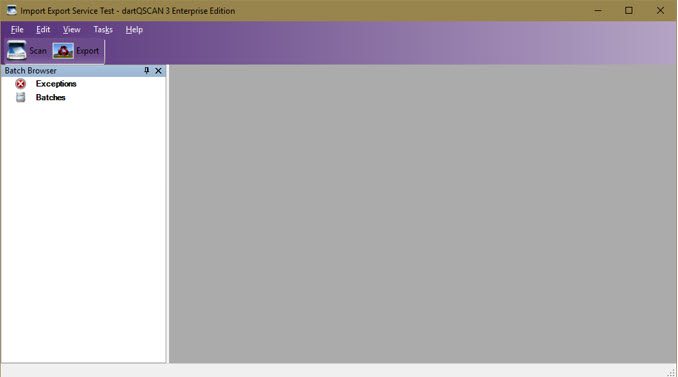
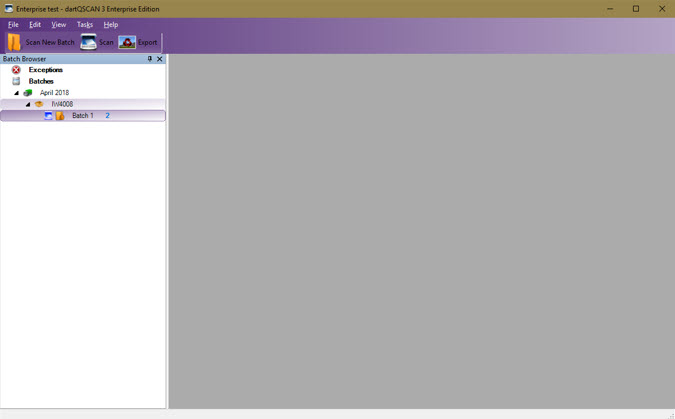
This is the interface for dartQSCAN Enterprise:
Examples of using Enterprise are listed below:
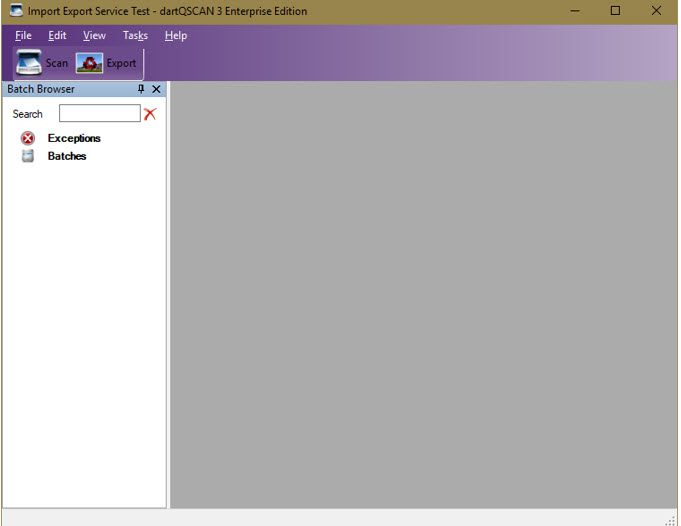
Using the Import & Export Service with Enterprise
The import service can be running to automatically pull files off a network share and get processed by a project and then automatically exported to (for example) dartEDM.
This project has the Scanning and Exporting TASKS.
The Registration task would only be added, if users wanted to click on the “Scan New Batch” button.
DartQSCAN Enterprise can be used to handle exceptions, like if a mandatory barcode is not recognised.
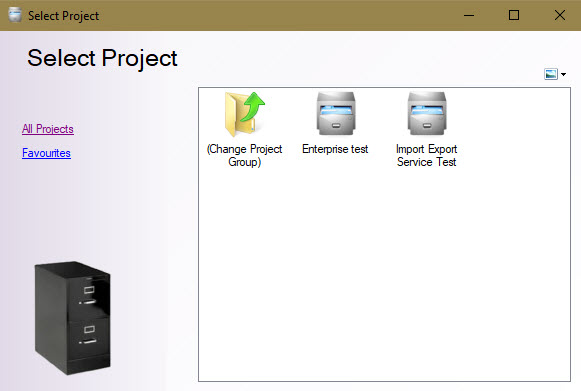
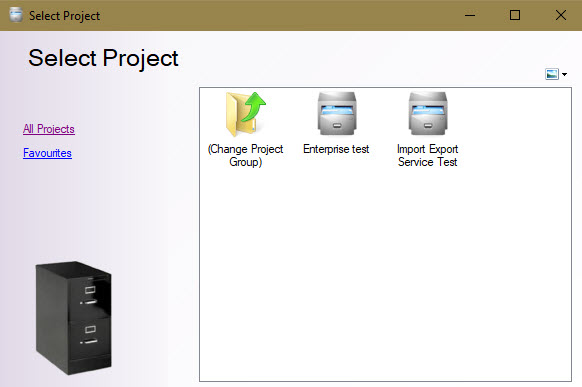
In this scenario, a single page PDF has been created, and the barcode was failed to read. An emailed notified the user who opened Enterprise to process it. Upon opening, the user must choose the correct project:
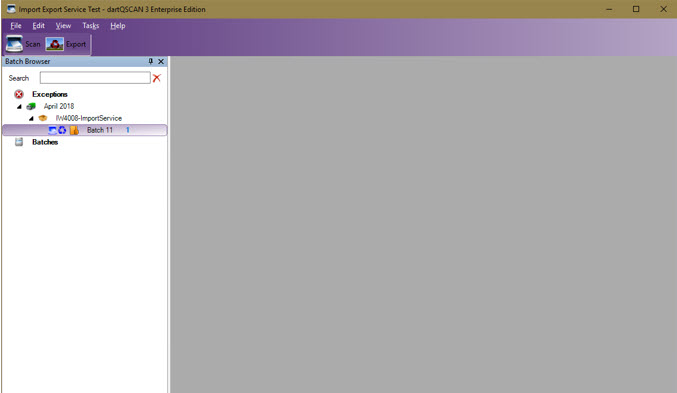
The interface will show any failed batches. You must drill down the tree of Deliveries, consignments and batches, and select the appropriate batch (you can right click within the Batch browser to show a small menu which allows you to view additional info like batch count, or show the task status (Blue = In Progress, Green = Complete, Red = Not started), or Show the Search bar, which allows you to Search against a Batch Name):
With the Batch highlighted, click on the SCAN button.
This will show the batch and at the bottom you can click on the document that failed within the Export Errors window:
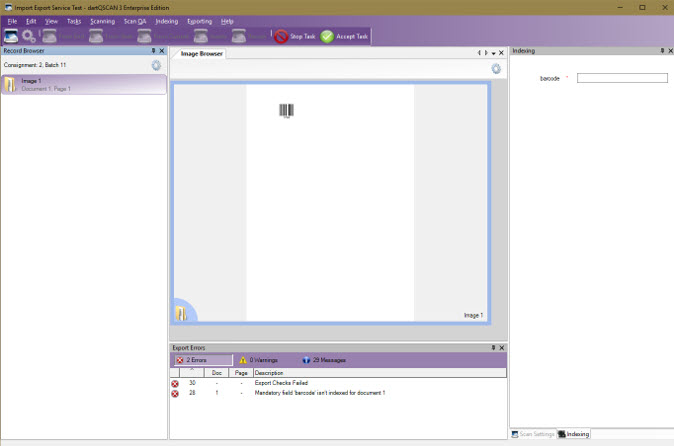
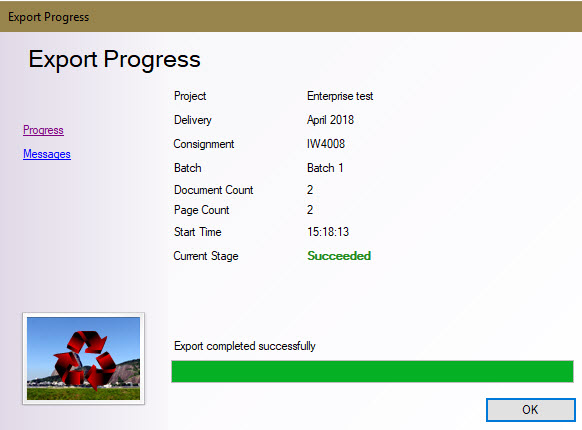
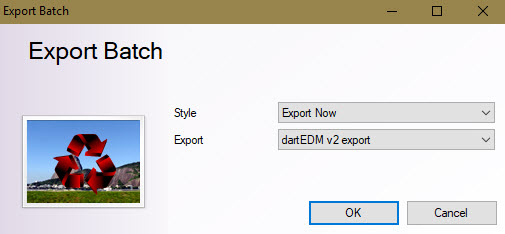
You have 2 options, fix the exception by entering in the mandatory field for each failed document and choosing Accept Task from the toolbar, or ignore the batch for now (do it later) and click on Stop Task. When you have done this, with the batch highlighted, you can click on the Export button. This will show the following dialogue window, choose OK for the batch to be exported:

If the batch exports ok, dartQSCAN will display:
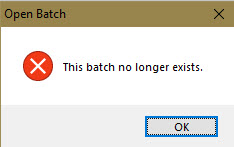
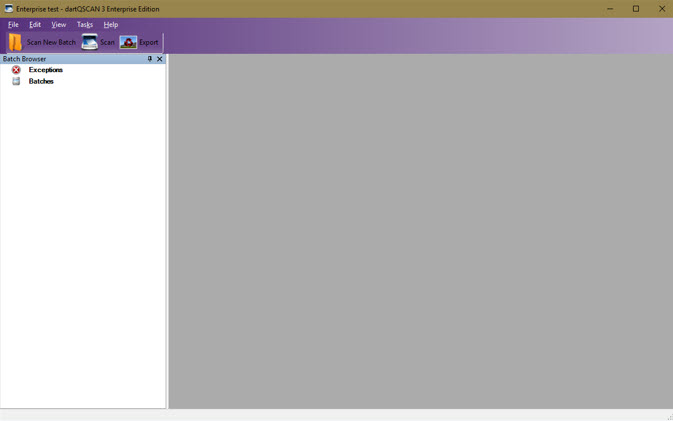
And the batch will no longer exist:
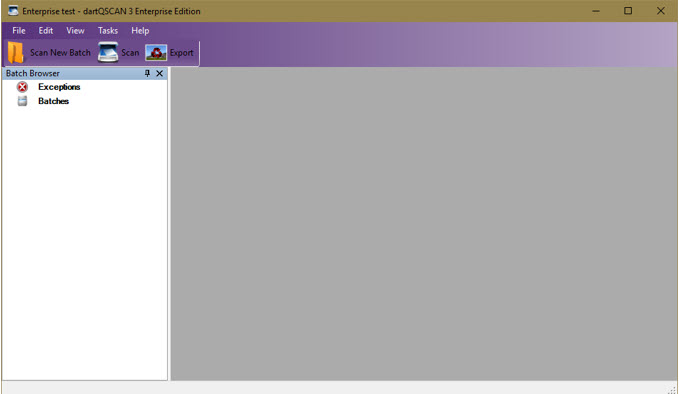
Using dartQSCAN Enterprise in a production environment where TASKS are split between different PCs
This project has the Scanning, Exporting & Registration TASKS.
This project is not using the Import service. When it is opened, the user selects the correct project:
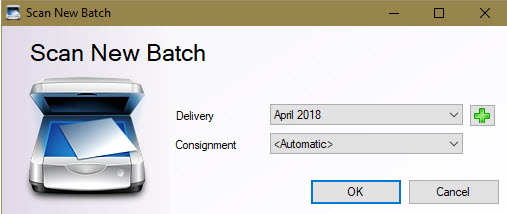
Select Scan New Batch from the toolbar:
Choose a new delivery and Consignment:
Scan your documents:

Click on Accept Task if you are happy to complete this task, other Stop Task.
If Stop task is selected, with the Batch highlighted, you can select the Scan button to go back into the batch:
Another user on another PC, may do the Exporting Task.
When Exporting is selected, the Batch is exported and the Batch will no longer exist if it has exported successfully:
Using the Export Service only to speed up Exporting of documents
This example is how BMI (patient record) scanning is used. Users use dartQSCAN Standard version to scan in their documents and when they click on the Export button, they get this dialog instead of the automatic exporting progress window:
Users click Ok and the batch is finished, the exporting happens behind the scenes.
This scanning project must have the network image store as all the PCs using these projects export to a shared folder, where the Export service picks up the files and processes and exports to dartEDM.
Any exceptions must be handled in dartQSCAN Enterprise.
The Import service can be setup to import images say from a network image store.
If this is the case, then dartQSCAN Enterprise must be used to process the batch.